
A Proven Garage Door Maintenance Guide for Franklin
Here is a surprising safety fact: the United States Consumer Product Safety Commission urges owners to inspect their garage door and opener every 30 days. That schedule is much more frequent than many households expect. However, knowing how to inspect your garage door makes sense before travel, school, holiday, or work routines grow busier. A short inspection can reveal changes in sound, motion, balance, sealing, and safety performance before daily use rises.
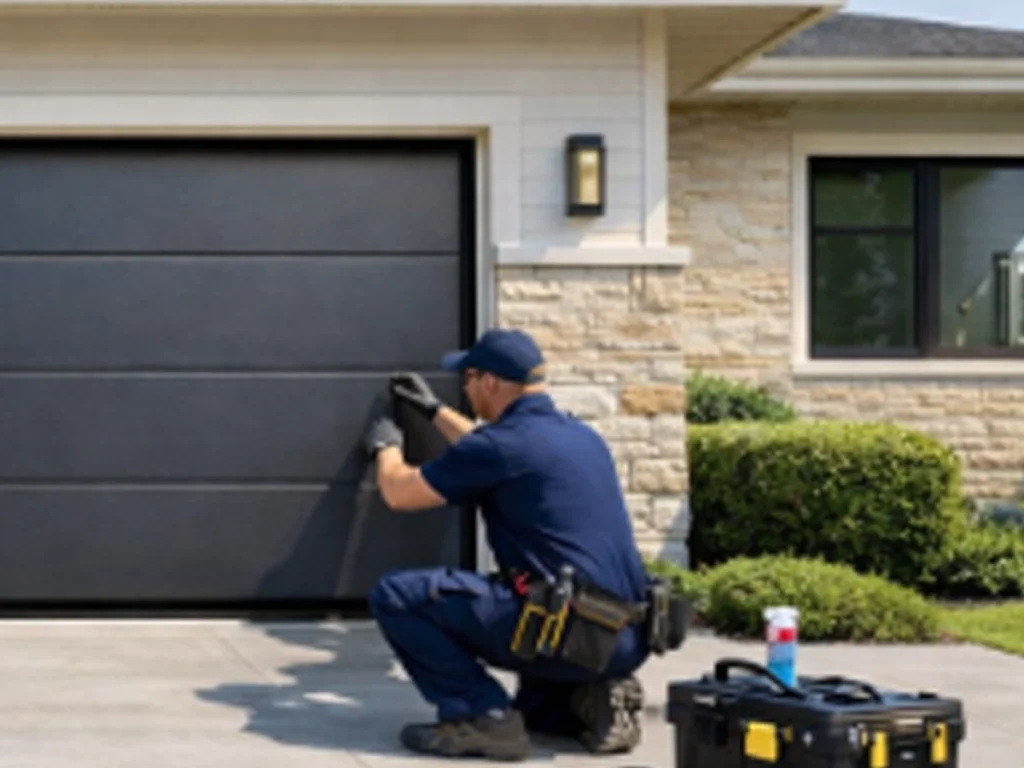
AI Overview: To inspect a garage door before a busy season, begin with the door closed and study every visible part. Next, watch one complete opening and closing cycle while listening for scraping, popping, grinding, or uneven motion. Then, check panels, seals, tracks, rollers, hinges, fasteners, springs, and cables without touching any high tension part. After the visual check passes, test manual balance, photo eye sensors, and contact reversal under the opener maker’s instructions. Also, check remotes, wall controls, lights, backup power, and the emergency release. Clean safe areas and use only the lubricant named by the door or opener maker. Stop at once when you see a broken spring, loose cable, bent track, damaged bracket, falling door, or failed reverse test. Springs, cables, bottom brackets, and major track work belong to a trained garage door technician.
- First, inspect early enough to leave time for a safe repair before heavy use begins.
- Second, record every new sound, gap, delay, or motion change instead of relying on memory.
Why Garage Door Maintenance Matters Before a Busy Season
A busy season changes how often people enter and leave the garage. Therefore, small faults can become daily delays at the worst time.
For example, school mornings may add several opening cycles. Likewise, holiday visits can bring more cars, packages, tools, and foot traffic.
Moreover, weak seals may admit water, dirt, heat, or cold. Meanwhile, a strained opener may become less reliable during repeated use.
An inspection does not guarantee that a part will never fail. However, it can reveal visible wear and poor performance before demand increases.
Therefore, schedule the review while there is time to compare, plan, and repair.
- Choose a calm day at least two weeks before the expected rush begins.
- Write down present concerns, recent impacts, power issues, and past repair dates.
Set a Clear Safety Boundary Before You Begin
First, remember that a garage door is heavy and works with springs under strong tension. Therefore, visual checks and simple maker approved tests are the homeowner’s safest role.
Door & Access Systems Manufacturers’ Association warns occupants not to remove, adjust, or repair springs, cables, doors, or connected high tension parts. It also advises stopping when damage appears during a visual or motion check.
Therefore, never loosen a spring bracket, cable drum, bottom fixture, or cable fastener. Also, never force a crooked door back into its track.
Keep children, pets, vehicles, and stored items away from the opening. Next, use good light and wear stable shoes.
Finally, keep the opener remote in your hand so you can stop movement quickly.
- Look at springs and cables from a safe distance, but do not touch them.
- Stop when the door drops, binds, sways, twists, or leaves its track.
Build a Baseline, Then Watch and Listen
Before starting, gather a flashlight, clean cloth, notepad, phone camera, stable step stool, and the opener manual. Also, find the last service record.
Next, take clear photos of the closed door, tracks, springs, cables, seals, opener, and safety sensors. These photos create a useful baseline for later checks.
Then, stand inside where you can see both sides. Open and close the door once without walking beneath it.
Watch the bottom edge because it should remain reasonably level. Also, note any pause, jump, shake, or slow section.
Listen for new scraping, grinding, popping, rattling, or squealing. However, do not assume that every sound needs lubricant.
Instead, record where the sound starts and whether it occurs during opening, closing, or both directions.
- Film one full cycle from a safe position when movement seems unusual.
- Stop using the door when it tilts, binds, jerks hard, or makes a sudden bang.
Inspect Panels, Windows, Seals, and the Frame
After the motion check, close the door. Then, inspect each panel from both sides under good light.
Look for dents, cracks, buckling, rust, loose trim, broken glass, and water marks. For wood doors, check for splits, bowing, soft areas, and peeling finish.
Next, inspect the bottom seal and side weather strips. Light, leaves, insects, or water marks may reveal gaps around the closed door.
Also, check the floor where the seal lands. A cracked or uneven surface may prevent full contact and affect closing performance.
Finally, inspect the header and side jambs. New cracks, loose framing, or shifted fasteners need expert review before more testing.
- Mark every panel flaw and seal gap on a photo or simple sketch.
- Seek help when damage affects a hinge area, bottom fixture, frame, or track support.
Check Tracks, Rollers, Hinges, and Safe Hardware
With the door closed, use a flashlight to study both tracks. Look for bends, dents, gaps, loose supports, rust, or debris.
Next, confirm that every roller sits within its track. A roller outside the track is a stop signal, not a simple home repair.
Then, look at hinges and roller brackets for cracks, missing fasteners, and loose attachment. However, do not loosen any part to test it.
Some accessible fasteners may be checked under the maker’s care guide. Still, avoid every bracket linked to springs, cables, or bottom fixtures.
Also, wipe loose dust from safe track areas with a dry cloth. Do not coat the track with grease unless the maker requires it.
Finally, compare both sides for uneven spacing or movement.
- Keep hands away from roller pinch points and all moving joints.
- Call for service when tracks bend, rollers leave the track, or brackets crack.
View Springs and Cables Without Touching Them
Springs and lift cables help raise the door. Therefore, this part of the inspection is eyes only.
Look for a spring gap, heavy rust, stretched coils, loose cable, frayed wire, kink, or cable outside its drum. Also, compare both sides when paired parts are present.
A sudden bang followed by a very heavy door may point to a failed spring. However, only a trained technician should confirm the cause.
Never test a suspected broken spring by using the opener. Likewise, do not pull, cut, wind, clamp, or move any cable.
- Close the area and stop door use when a spring or cable looks damaged.
- Share photos from a safe distance when scheduling professional service.
Test Door Balance Only After the Visual Check Passes
A balance test shows whether the door can hold a partly open position with little effort. However, perform it only after every visible area looks sound.
First, close the door fully. Next, follow the opener maker’s steps for using the emergency release.
Then, lift the door slowly by its handle. Stop when it feels very heavy, binds, sways, or moves on its own.
When safe, raise it about halfway and release it with care. A balanced door should remain near that position rather than falling or rising fast.
Finally, lower the door carefully and reconnect the opener exactly as the maker directs.
- Skip this test when any spring, cable, track, panel, or bracket looks damaged.
- Request service when the door falls, rises quickly, sticks, or feels unusually heavy.
Test Photo Eyes and Contact Reversal Carefully
Safety tests matter because a door can move well while its reverse protection performs poorly. Therefore, test both systems under the opener maker’s instructions.
First, clean the photo eye lenses with a soft cloth. Next, confirm that both units remain firmly mounted and correctly aimed.
Then, start the door closing and pass a long object through the beam from a safe position. The door should stop and reverse without contact.
For contact reversal, place a two by four board flat on the floor beneath the closing path. Then, close the door.
- Keep every person and pet outside the opening during each safety test.
- Stop automatic closing when either reverse system fails its required test.
Review the Opener, Controls, Cleaning, and Lubrication
Next, inspect the opener housing and rail for loose mounting, vibration, leaks, damage, or unusual heat. Also, listen for motor strain or repeated clicking.
Then, test the wall control, each remote, keypad, lights, and connected alerts. Replace user serviceable batteries under the maker’s guide.
Also, confirm that access codes work as expected. Remove lost remotes from the opener memory when the system allows that step.
Next, inspect the emergency release cord for damage. However, use it only as the maker directs and never while the door is open.
Clean photo eyes, panel edges, weather seals, and safe track surfaces. Then, apply only the lubricant and locations named in the manuals.
Avoid spraying every visible part because extra product can attract dirt or coat areas that should stay dry.
- Arrange service for loose mounting, smoke, burning odors, repeated faults, or failed controls.
- Keep lubricant away from photo eyes, floors, tread surfaces, and open flames.
10. Prepare for Franklin Weather and Seasonal Use
Franklin households can face heat, freezing nights, rain, humidity, storms, and sharp seasonal changes. Therefore, seals, metal parts, power, and drainage deserve review.
The nearby Nashville annual climate report for 2025 recorded 79 days at or above 90 degrees, 65 nights at or below freezing, 54.91 inches of rain, and 61 thunderstorm days. Those figures describe Nashville’s reporting site, not every Franklin home. Still, they show the regional range garage systems may face. (Weather.gov)
Before hot months, check seal softness, opener heat, shade differences, and garage air flow.
Before storm season, clear drainage near the opening and test backup entry plans. After an impact, flood, or strong wind, arrange a careful inspection before normal use resumes.
- Match each seasonal check to the home’s exposure, garage use, and door material.
- Schedule repairs before trips, school starts, holidays, or expected severe weather.
Use a Clear Decision Method and Know When to Stop
A clear rating prevents concerns from becoming vague notes. Therefore, label each result green, yellow, or red.
Green means the door moves evenly, tests pass, parts look secure, and no new damage appears. Continue normal use and record the result.
Yellow means a new noise, worn seal, slow response, light rust, minor panel concern, or weak battery appears. Plan timely maker approved care or service.
Red means a broken spring, frayed cable, bent track, loose bottom bracket, fallen roller, heavy door, failed reversal, or severe buckling appears. Stop use and call a trained technician.
- Place safety faults and high tension damage in the red group every time.
- Close off the opening and use another entry until the system is cleared.
Learn From Three Honest Busy Season Examples
The following examples are illustrative planning cases. Therefore, they are not claims about named customers or completed Everlast projects.
A School Morning Door Becomes Slower
A family notices slower closing near the floor. No spring or cable damage appears, but contact reversal performs poorly. Therefore, the family stops automatic use and books service before school starts.
Holiday Travel Reveals a Weak Seal
A homeowner sees daylight under one corner and water marks after rain. The door moves evenly, and safety tests pass. Therefore, the owner schedules seal and floor contact review before traveling.
A Workshop Door Starts Popping
A heavily used door begins making a sharp pop during opening. The owner records one safe cycle and sees uneven motion. Therefore, the owner stops testing and shares the recording with a technician.
- Use each example as a planning model, not a remote diagnosis.
- Give the technician clear dates, videos, records, and test results.
Choose a Proven Franklin Garage Door Maintenance Partner
A busy season inspection should lead to clear action, not a vague sales pitch. Therefore, the provider should explain findings, urgency, options, and safe next steps.
Garage Doors states that its maintenance work includes lubrication, hardware checks, balance and alignment review, opener inspection, and safety testing.
That service range can help Franklin owners move from inspection to correction without losing project history. However, every recommendation should match the actual door, maker guidance, and observed condition.
From a practical service view, the strongest maintenance visit ends with proof. The door should move evenly, safety tests should pass, and the owner should understand future care.
At Everlast Garage Doors, we provide complete Garage Door Services for both residential and commercial properties. Our team handles Garage Door Installation, Repair, Maintenance, Custom Designs , and full Door Replacements to ensure long-lasting performance and reliability. We also offer Emergency Garage Door Service to quickly resolve urgent issues and keep your property secure and fully operational. you can count on quality, durability, and trusted service every step of the way.
- Ask for a written summary of findings, completed work, and parts to watch.
- Keep the service report with product manuals, warranties, and dated photos.
Follow This Powerful Final Checklist and Act Early
First, confirm that the door looks straight and closes against the floor evenly. Next, check that panels, seals, tracks, rollers, and hinges show no serious damage.
Then, confirm that springs and cables appear intact without touching them. Also, confirm that manual balance passes when the visual review allows that test.
Next, test photo eyes and contact reversal under the opener maker’s method. Then, test wall controls, remotes, keypads, lights, alerts, and backup features.
Finally, clean safe areas, complete only maker approved care, and record every result. Schedule trained service for anything marked red or unclear.
Franklin supports owners who want reliable access before busy weeks begin. Contact the team to discuss a maintenance visit or safety concern.
- Phone: 615-808-8806
- Location: 1107 Battlewood St #222, Franklin, TN 37069
- Call before heavy use begins so there is time for proper testing and repair.
- Bring photos, videos, model details, and past records to the discussion.
Frequently Asked Questions
The following questions reflect common search themes across current maker support pages, garage door maintenance guides, and safety resources.
How Often Should I Inspect My Garage Door?
Consumer Product Safety Commission urges owners to inspect the garage door and opener every 30 days. In addition, many households choose a fuller seasonal review before heavy use. The right professional service plan depends on cycles, age, weather, door weight, and past faults. Monthly safety checks do not replace trained service when damage appears.
Can I Inspect Garage Door Springs and Cables Myself?
You may look at springs and cables from a safe distance, but you should not touch, adjust, remove, or repair them. These parts can carry strong stored force. Stop using the door when you see a spring gap, loose cable, fraying, severe rust, or a cable outside its drum. Contact a trained technician.
How Do I Know Whether My Garage Door Is Balanced?
After a complete visual check passes, close the door and disconnect the opener according to its manual. Lift the door slowly to about halfway. It should remain near that point with little effort. Stop when the door feels heavy, binds, falls, or rises quickly. Balance correction involves the spring system and needs trained service.
What Garage Door Parts Should I Lubricate?
Use only the lubricant and locations named by the door and opener makers. Common care may include selected hinges, bearings, rollers, or drive parts, but designs differ. Do not spray every track, belt, sensor, spring part, or cable by habit. When the manual is missing or unclear, ask a qualified provider before applying anything.
What Signs Mean I Should Stop Using My Garage Door?
Stop use when you see a broken spring, frayed cable, bent track, loose bottom bracket, roller outside the track, severe buckling, or a falling door. Also stop when reverse protection fails, the door binds, or movement becomes sharply uneven. Close off the area and arrange trained service rather than repeating the test.